9 times out of 10 the creative vision I have in my head never comes to fruition the way I see it. I have big plans and dreams swirling around in an intoxicating concoction, only to be sobered up real quick once I actually try and manifest my idea into something. It hardly ever turns out the way I want it to.
Not this time. This time was the 1 time what I actually set out to create was exactly what I had envisioned.

Let me back up for a second. I follow this amazing Homeschool Community on Instagram, @wildandfree.co, as well as subscribe to their monthly bundles. I have been doing this for about a year and a half now, and let me tell you, this little community is chalk full of amazing ideas, inspiration and encouragement for creating a beautiful life while raising kids. It was through this community that I first learned of the idea of a Mud Kitchen. I knew I had to make one for my kids one day (translation: the husband was going to make it, let’s be real.)


The Mud Kitchen is the ultimate childhood freeplay outside experience. A beautifully created space of natural materials that invites children to create using mud, or sticks, feathers, rocks, water, bark...anything within their reach that sparks magic to their glittering eyes. I was instantly in love with the idea when I first read about it, and half-wondered, ok full-on dreamed about, if playing in a Mud Kitchen as an adult would be socially acceptable.


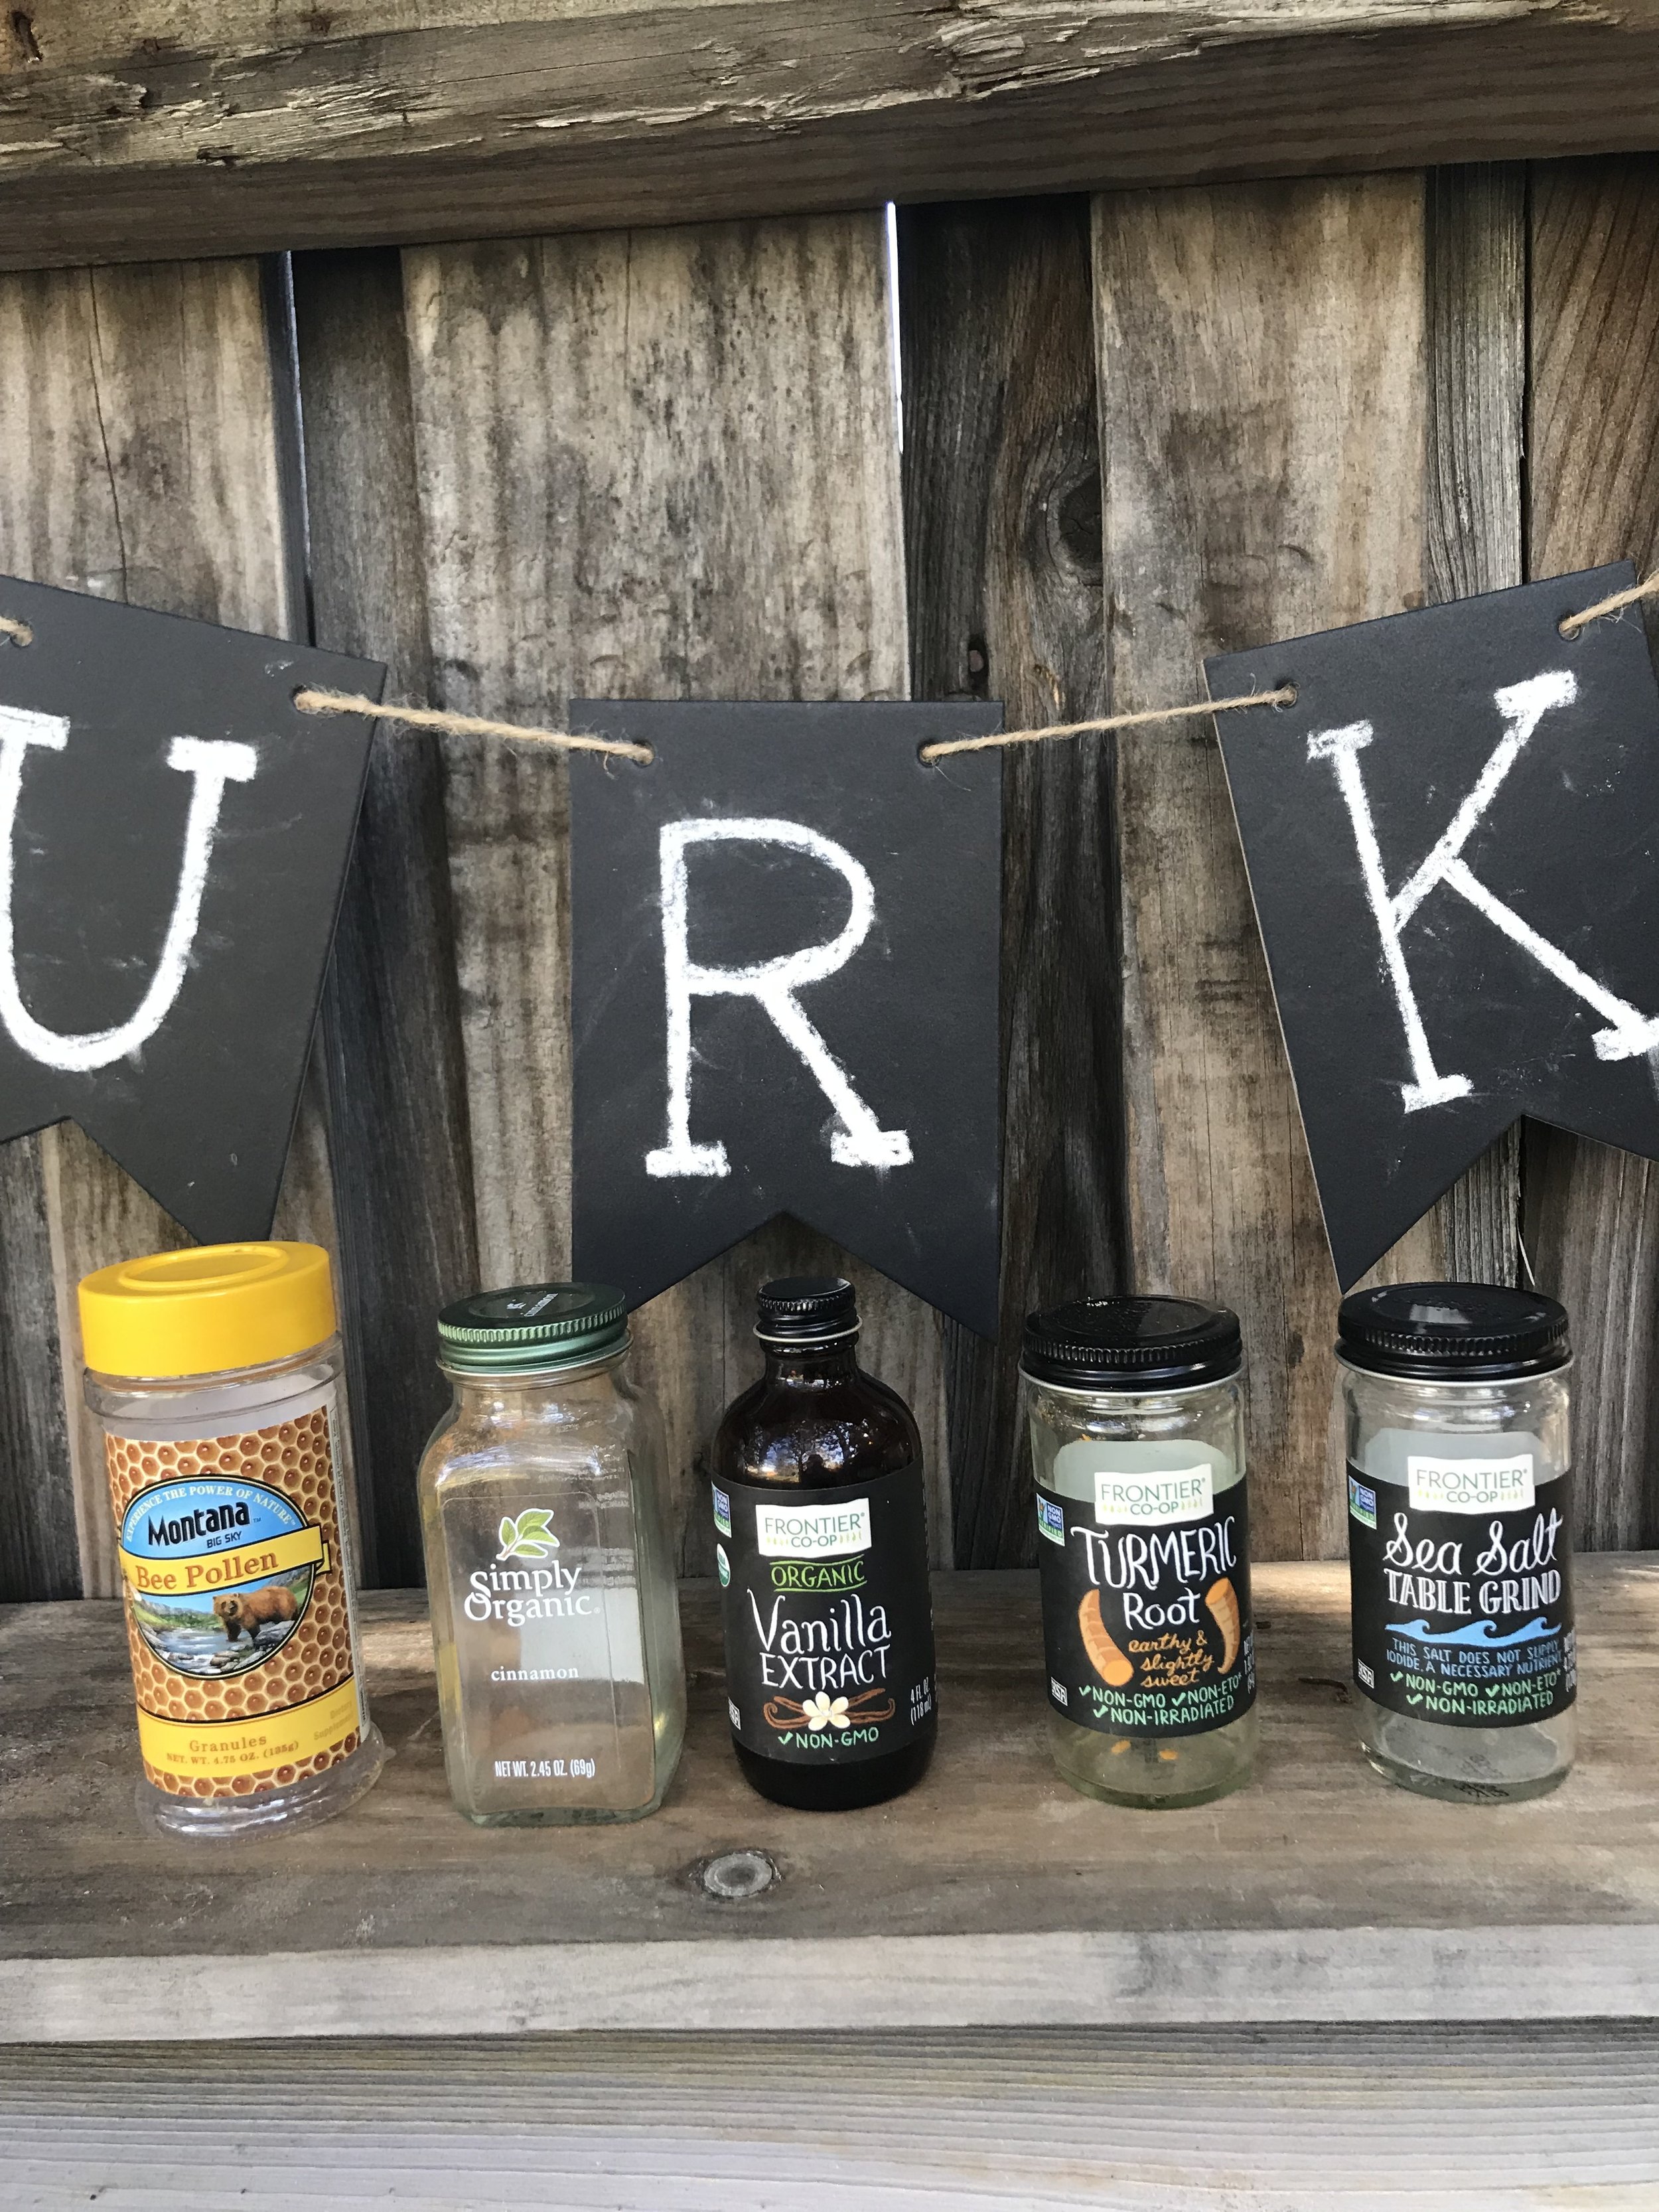
I started planning for my boys’ Mud Kitchen well in advance. (Just because we can’t do something right away, doesn’t mean we can’t prepare, right?) The first thing I did was start to collect the tools that would be used in the kitchen: I saved empty spice bottles, put aside antique pieces I had that no longer served a decorating purpose because, well, kids. When we went on a walk and found an abandoned piece of plywood, we carried it back home and my toddler painted it all over. Once it was dry I used a chalk marker to lovingly enscribe “Mud Kitchen” on its jagged face. Instead of throwing out the party banner that had our last name on it from my baby shower 4 years ago, I put it in the future Mud Kitchen box. When my husband wanted to get rid of some cinder blocks, garden boxes and compost pallets during our recent move, I had him put some aside for me and they came with us to the new house, waiting to be used by muddy children.

When my parents went on vacation to Cancun, I asked my mom to bring back as many seashells as she could collect. This past Easter we naturally dyed some wooden eggs, with the thought to put them in the Mud Kitchen once it was built.
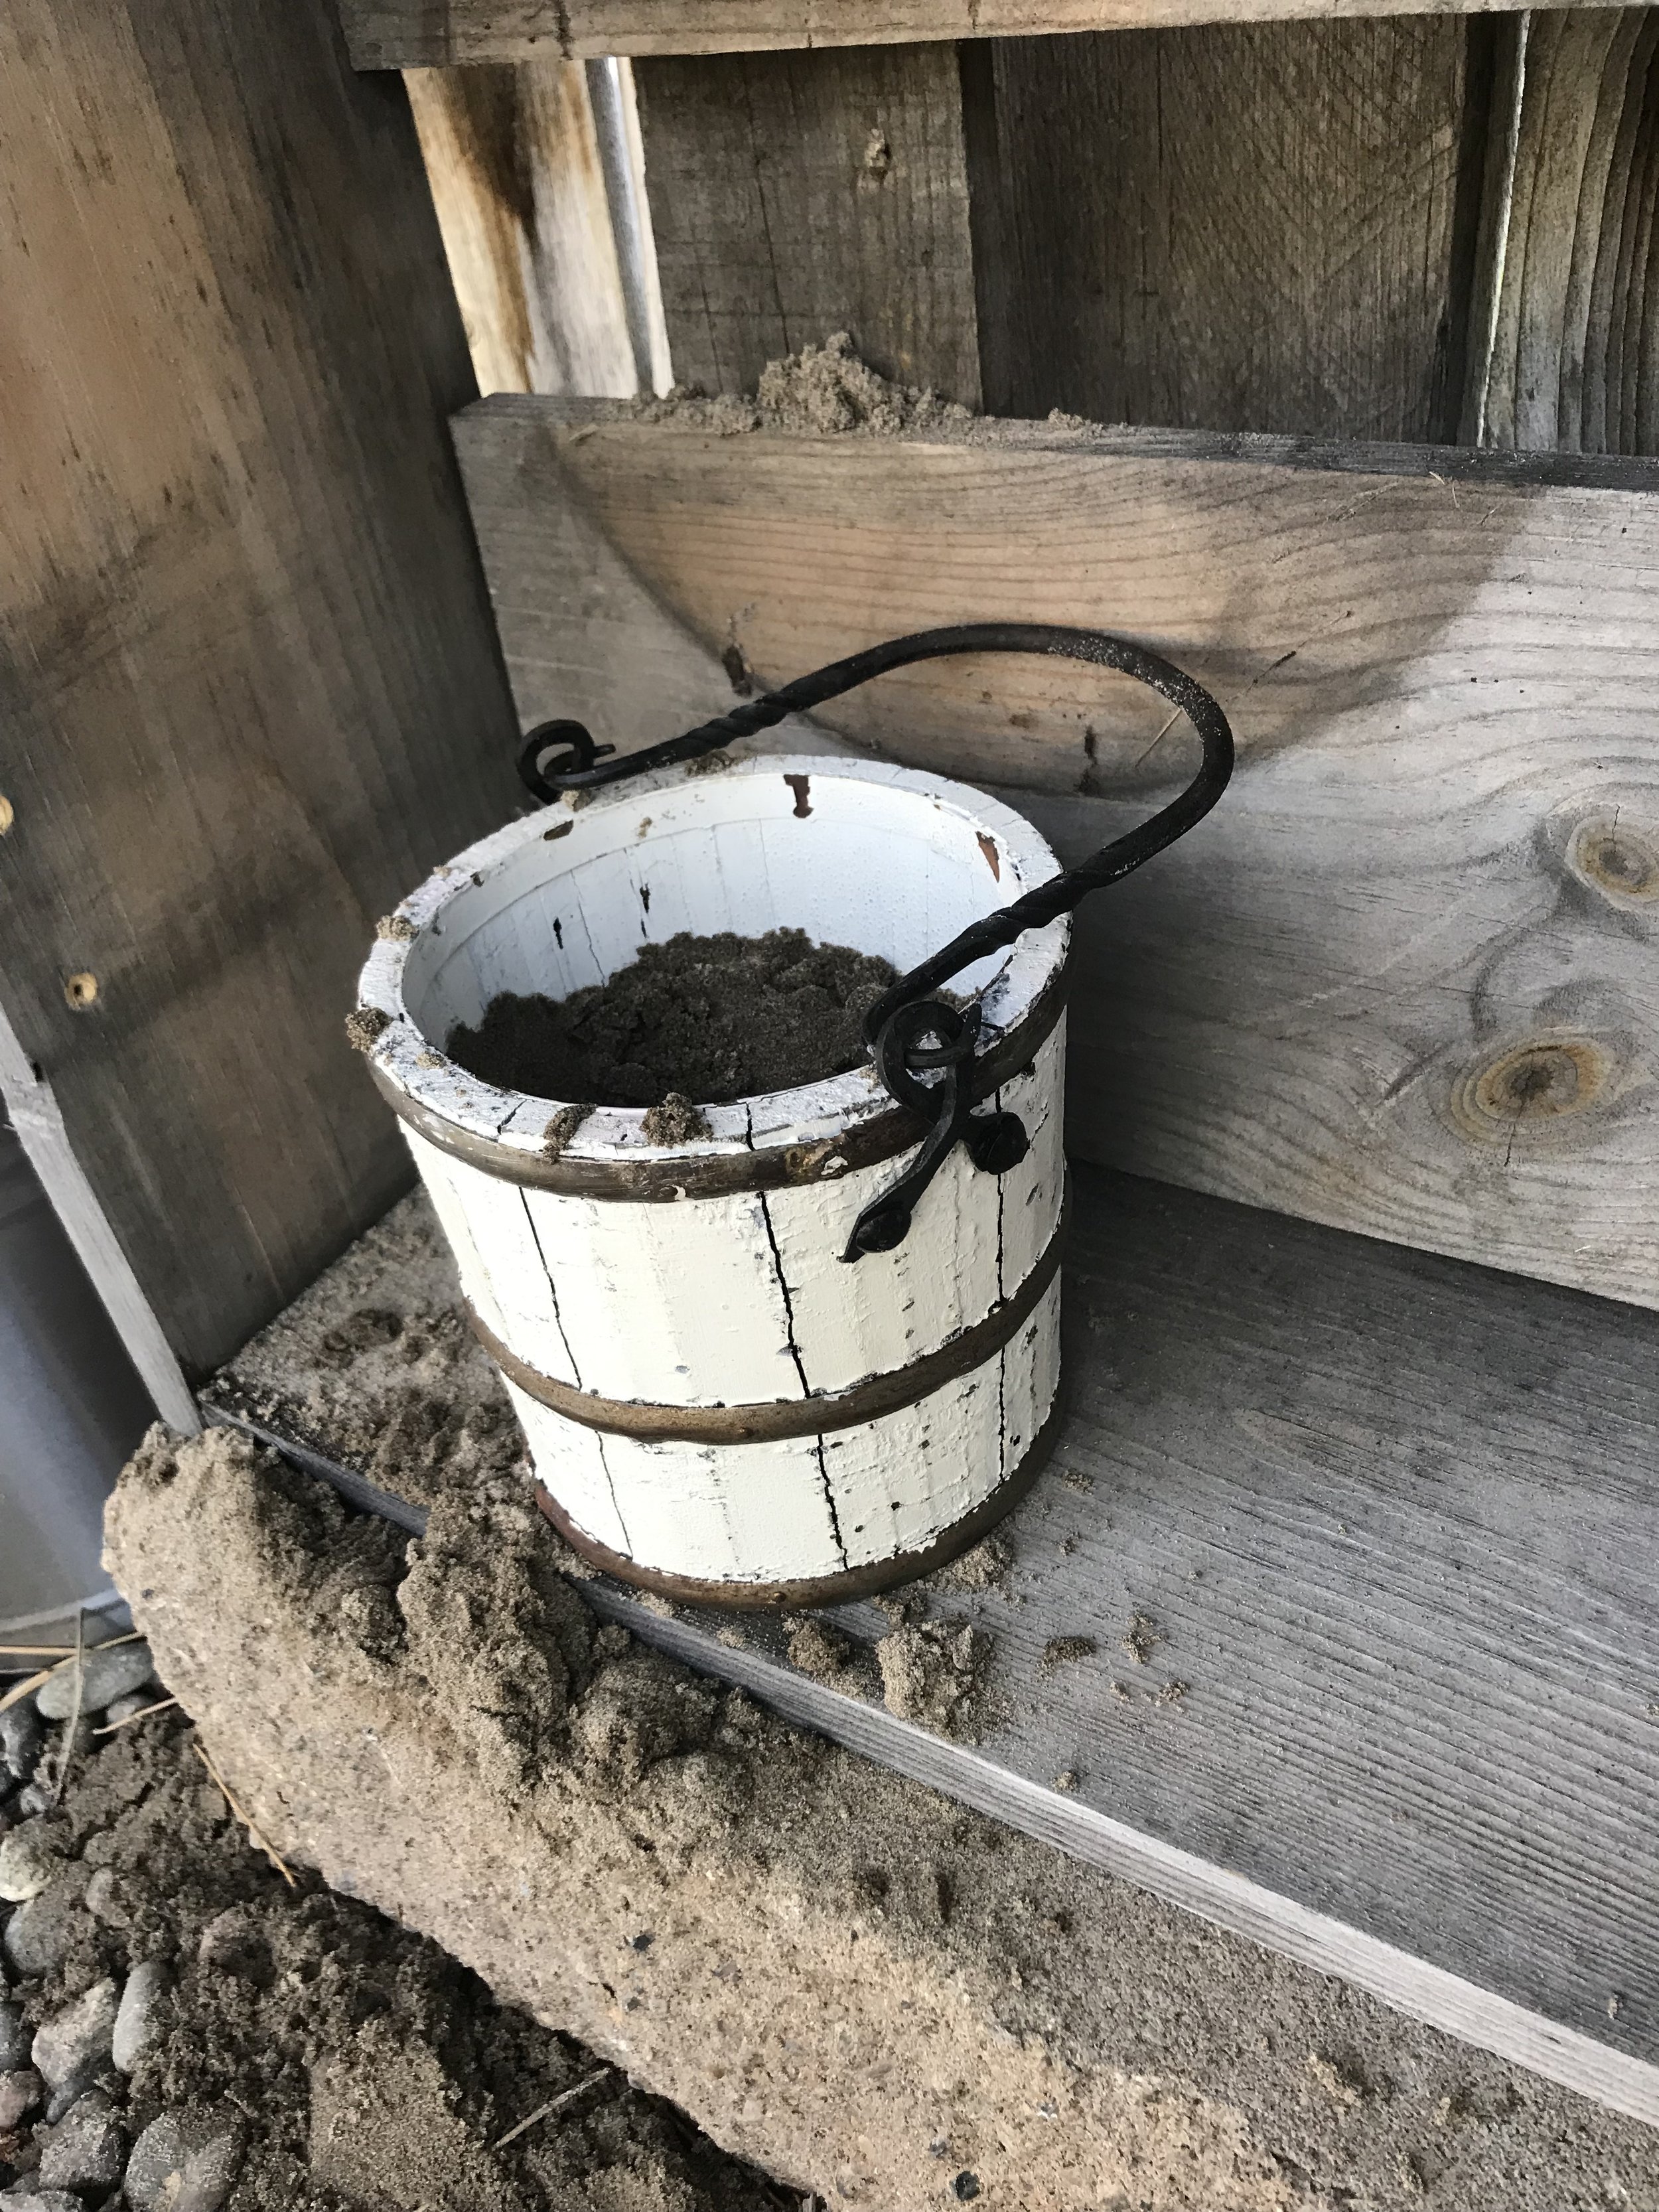
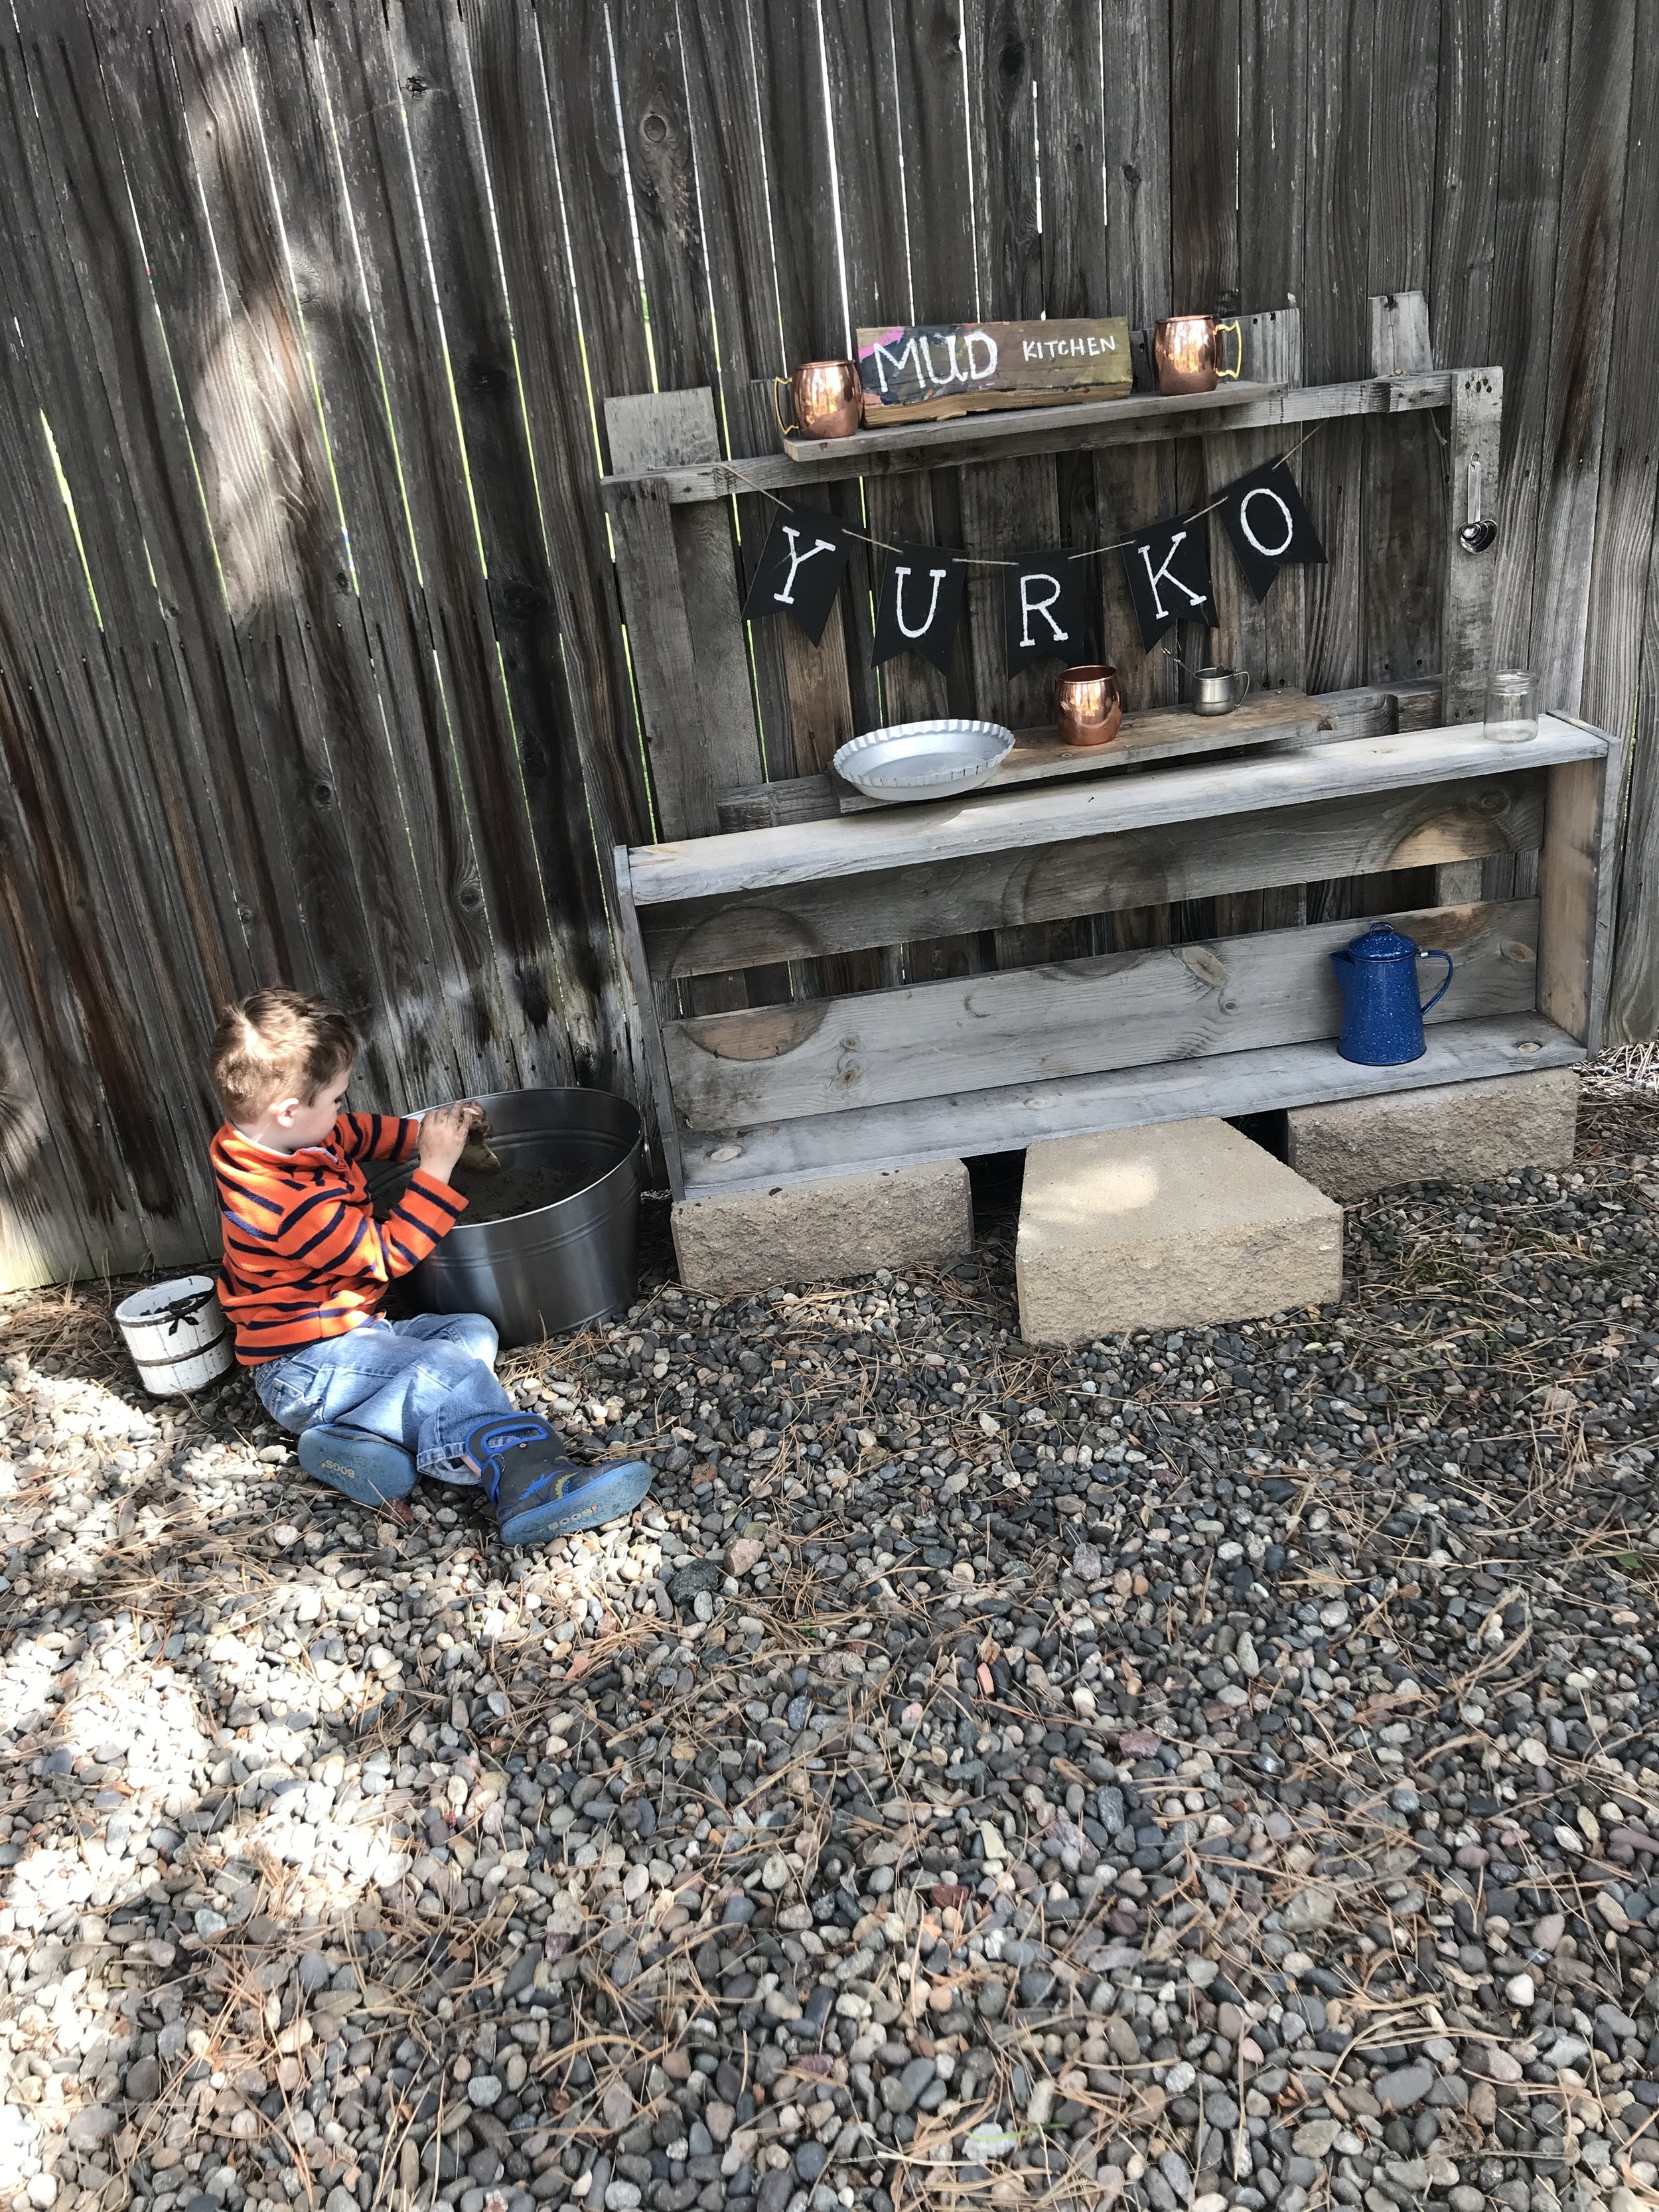
My family and I moved into a new home within the last couple weeks, and even though I cannot find my own plates and set of silverware, we spent a morning building the Mud Kitchen for the boys instead of unpacking, because priorities, right? Once we started to build, it only took about 45 minutes. My husband used some screws and nails and created the perfect little space for our boys to be creative. After the kitchen itself was put together, I started filling in the details. Lastly, in a serendipitous moment, we found some leftover bags of play sand that the previous owners of the home had left behind, and we ripped a bag right open and dumped it into a bucket. Perfect.


We didn’t even have to tell my toddler what he needed to do. Kids are wonderful like that, aren’t they? Comedically, he did look at me and ask if he could put the utensils in the sand, like he couldn’t believe mama was letting him make a mess. (Maybe I should lighten up a little?). But that’s just the reason I love Mud Kitchens: they are outside and designed for getting dirty, so I don’t stress about the mess. And the clean-up, it’s non-existent! The kitchen gets as messy as it needs, and the next time the kids play with it, they just pick up where they left off, and the “mess” just blends into the natural environment it’s already in. Score!


The second reason I love this Mud Kitchen is because it holds the attention of little ones for a long time. Unlike screens or closed-ended toys, Mud Kitchens are wildly creative experiences and children never have the same experience twice while playing with them, which is why they love to play for so long! Every moment is a new adventure! The first time our toddler, who is three, played with his kitchen, he was out there for over an hour, which is a total blessing as I also have a 7 month old who still needs me quite constantly. I cannot be my toddler’s on-demand playmate anymore now that little brother is here, and so I’m always looking for activities where he can engage in free-play for extended periods of time. This Mud Kitchen does not disappoint in that regard.


If you are looking to build your own Mud Kitchen, first locate a spot in your yard that would be a perfect setting in your opinion. We chose ours to be against the back fence in the backyard, underneath some pines so it feels as though you are playing on the forest floor. Plus, it’s out of the way so the rest of the yard is wide open for running. Also, the wood we used for the kitchen itself blends in nicely to the wood of the fence, so it’s not an eyesore, but actually looks like it was meant to be there all along.
Next, gather up some materials to build your kitchen. We used old garden boxes we had made a couple years ago, as well as some pallets from our compost area and some cinder blocks from our previous backyard. If you don’t have anything on-hand, go to grocery or home stores and ask for their discarded pallets! Get creative! The design of the kitchen can be anything you want. We stayed simple with just a couple shelves, but you can get elaborate and make multiple units, and add things like sinks or ovens.
Lastly, fill in the details! Before you go out and buy anything, look around your own kitchen to see if there are any utensils or pans that you don’t ever use. Donate them to the Mud Kitchen! Next, look around your house or garage with the mindset of what could be added to the kitchen. I had been using a lot of things as decorations around our house that I took off shelves and brought outside. If you don’t have anything to use, don’t buy new; go around to garage sales or thrift stores, you will not be without numerous options to choose from!
Don’t forget the actual “mud”. We used play sand but you could use soil, rocks, mulch, just water, or a mix of soil and water to actually make mud. There are no rules when it comes to a Mud Kitchen, and I say the “shanty-er”, the better!
Happy cooking!